Tag Archives: swimming pool renovation

Pool Update

Standard

It looks like we have solved the leaking pool issue. It has only taken us 7 years to get to this point! After my last post in the summer of 2016, we were unable to use the pool due to water loss.

We found a product online that seemed to be just what we needed. The company is Sani-Tred. They have a complete line of waterproofing products that were a perfect solution for our leaky pool problem. They also have wonderful customer phone support. I can not say enough good things about this company. We looked into so many possible solutions over the years, including adding a liner ($18,000 quote from a local pool company), resurfacing, for around $14,000, with no guarantees the pool would hold water, and we even considered just having it filled in.

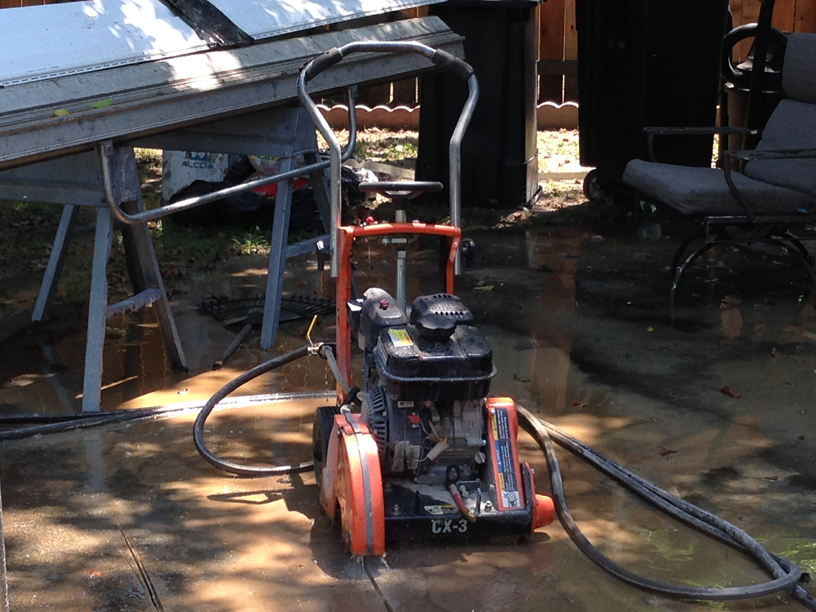
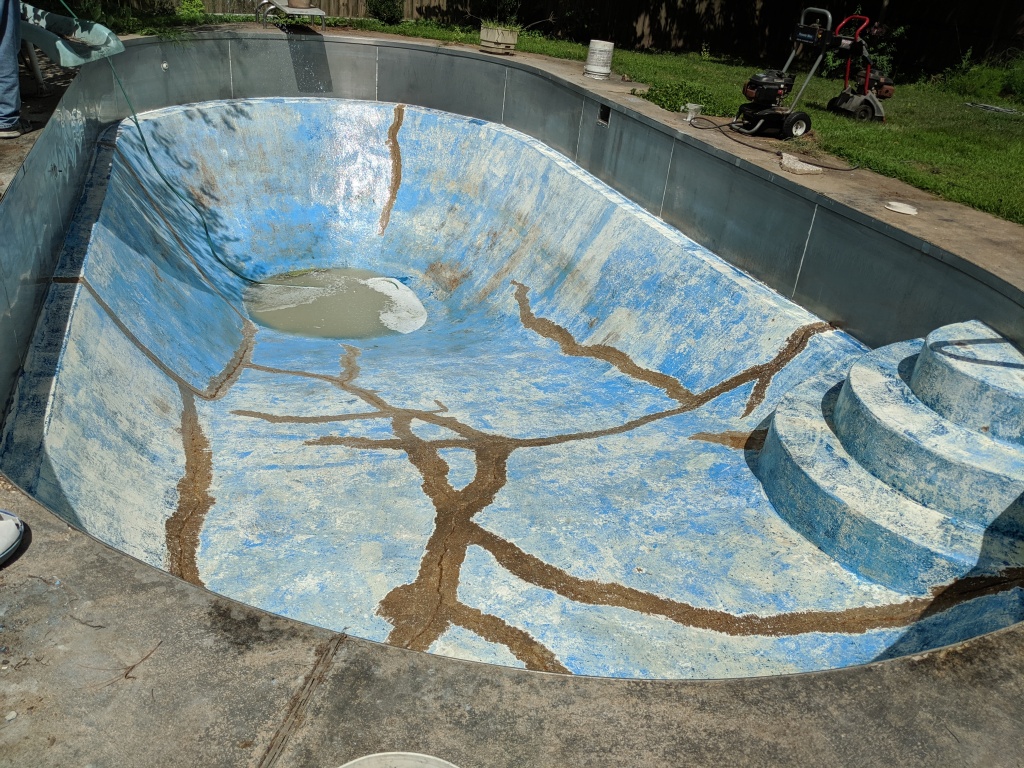
My husband has been tireless in his efforts to mitigate the problems. Last summer he prepped the pool for crack repairs using Sani-Tred products, which took hours of hard work. The required prep work was often a bit of trial and error as my husband looked for ways to remove the old pool paint, which was a necessary step before new products could be applied. He tried his pressure washer and even rented a more powerful pressure washer, without much luck.

After a lot of online research , we finally found a product, Fusion Plus Pool Primer, that could be applied over the old chlorinated rubber pool paint, meaning we didn’t have to completely remove the old layers of paint. This allowed us to apply fresh Epoxy pool paint after the Sani-Tred products were used to seal the pool.

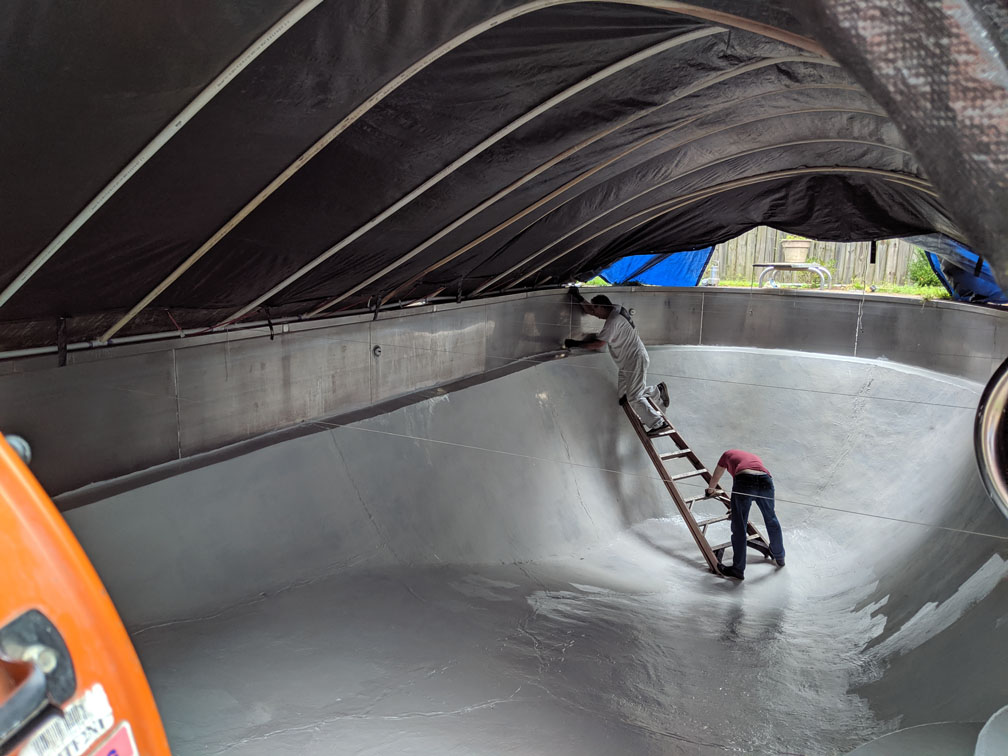
He used a grinder to remove the paint around all the cracks, as well as to remove what had been previously applied to seal the cracks. This was necessary to allow the Sani-Tred products to bind with the concrete. After we sealed the pool with the Sani-Tred products, we used an epoxy paint, Olympic Zeron, in white. This provided a one-coat finish.

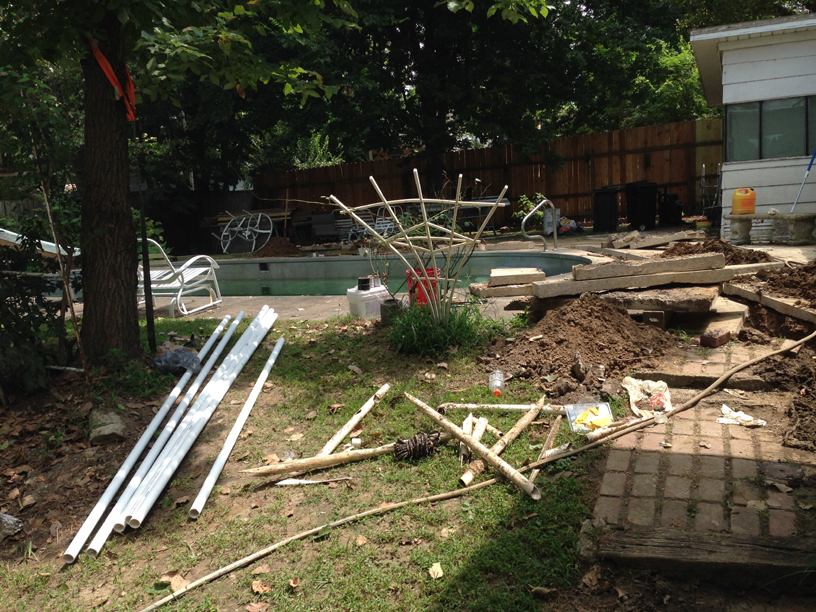
My husband built a cover for the pool before we started painting it. We didn’t want to risk wind blowing dirt and leaves onto the fresh paint. It was also to protect it from the sun and to provide cover in case of a rain shower. He used PVC pipes, twine, and a tarp.

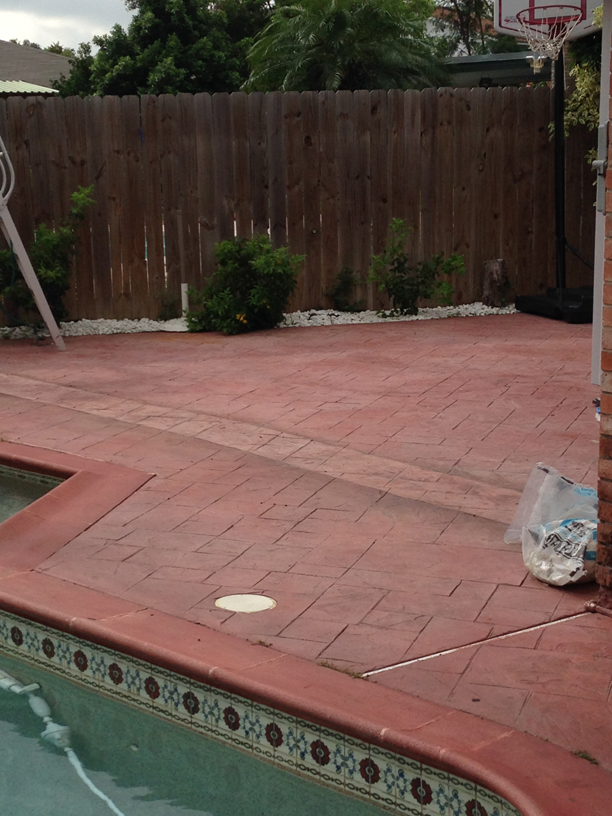
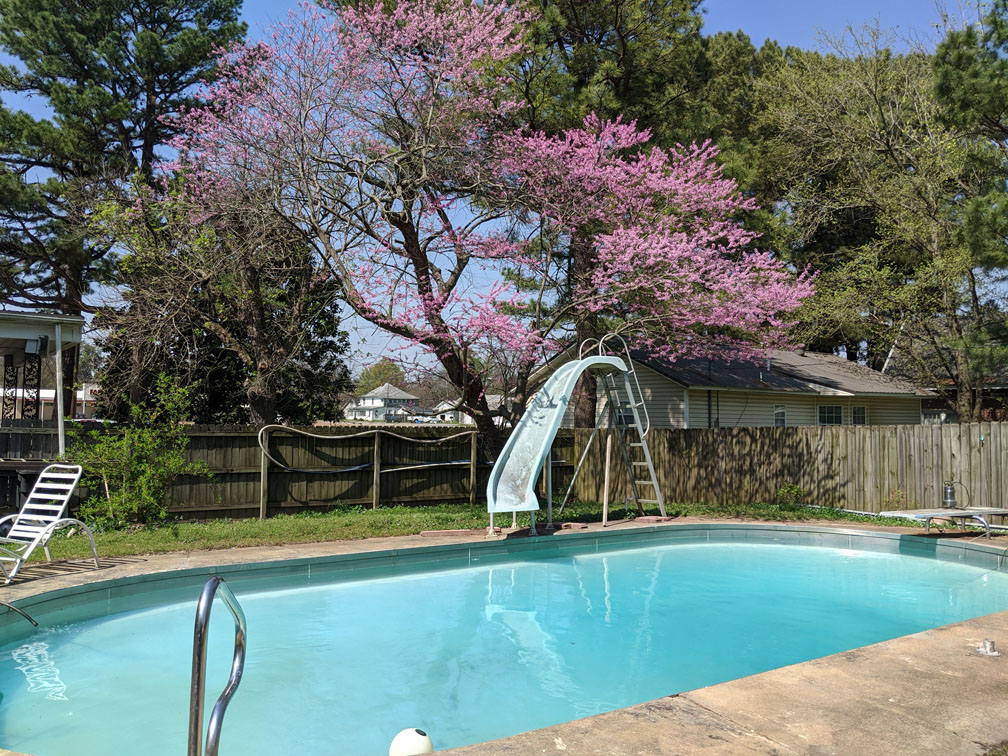
Last fall we filled the pool up to just under the skimmer, so it didn’t have to be winterized. After all, we hadn’t used it since 2016 and it had been winterized then. We kept it covered and hoped for the best, meaning we hoped it would still have water come spring. It did, and we have finished filling it.

We have purchased a pool vacuum, this Residential Advanced Suction Side Automatic Pool Cleaner and this Cyclonic Leaf Catcher for Suction Side Pool Cleaners. We have also purchased a solar cover and reel.

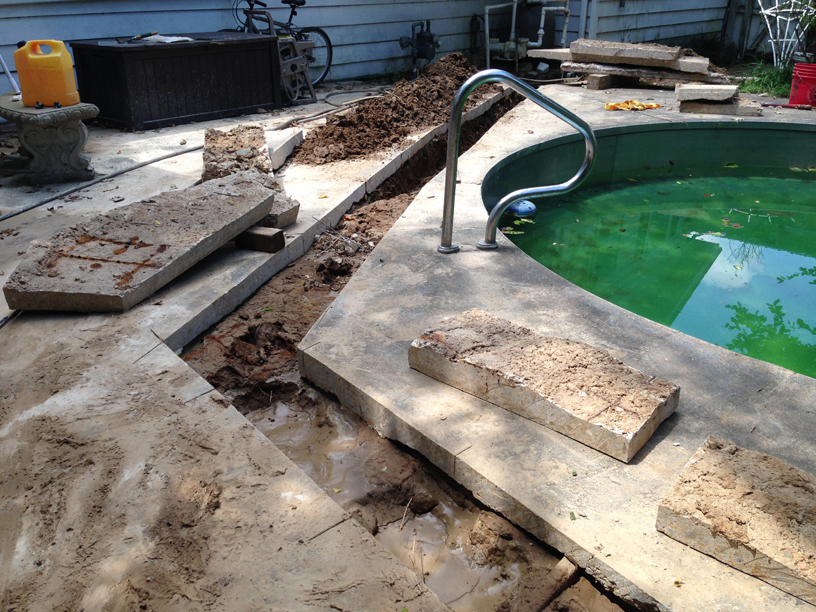
There are still projects to be completed. We are considering removing the slide and the diving board. We also need to repair the concrete around the pool, especially where it had to be cut out to fix the underground plumbing. Right now we are just looking forward to some quality pool time this summer.

More Pool Improvements

Standard

What a mess we now have in our side yard.

What a mess we now have in our side yard. This shows some of the concrete removed and the PVC pipes that we used to replace the damaged pipe.

The next step in getting the pool operational was to check the lines running from the equipment to the pool and back. My husband started digging close to the equipment first. It soon became apparent that the lines running from the skimmer to the pump were compromised. The pool had not been winterized properly and the lines had frozen and cracked. What a job this was!

Yikes! Busted pipes

Yikes! Busted pipes

At first my husband was hopeful that the lines would be okay after a short distance, but it soon became clear that was not the case. He started cutting concrete with his circular saw, but soon realized he would have to cut too much concrete for that to be a feasible plan of action. He rented a machine at Home Depot for 2 days to cut the rest of the concrete, that along with buying a couple of concrete saw blades. The blades were about $60 each and the equipment rental was about $200 for the 2 days. The first machine he rented had to be returned before he even used it. My husband was not a happy camper about that. It’s a 35 minute drive each way from our house to Home Depot.

Concrete saw

Walk behind concrete saw

ConcreteBlade

One of the 2 saw blades we purchased for the walk behind saw.

After the concrete was removed, there was a lot of digging to be done to get to the old pipe. The old pipe was removed and new pipe was put back in its place.

You can see the concrete cuts here. Part of the concrete has also been removed.

You can see the concrete cuts here. Part of the concrete has also been removed.

Most of the concrete has been removed here.

Most of the concrete has been removed here.

After the plumbing connections had cured, the pump was started and water began to circulate. By the next day the water had begun to clear up. Now we are adding chemicals to get the water balanced.

Our goal is to get the pool ready for next summer. There is still a lot to be done to accomplish that goal, such as pouring new concrete to replace what was removed to fix the broken pipes. We are considering stamping the concrete when we get to that step. We had that done on our pool deck in Texas and we really liked it. Actually we did it on our front walkway too. We used a clay color there to coordinate with our brick, but I think gray would be a better choice here.

Stamped concrete at our previous house in Texas

Stamped concrete at our previous house in Texas

There is still a leak in the pool itself that will have to be resolved. We will probably wait on checking that out until next spring.Yesterday I purchased chemicals to winterize the pool and I still need to purchase a cover. More on that later.


Previous pool posts:

New Pool Pump

Pool Is Filled… Sort Of

Pool Update

Pool or Pond?